 Save
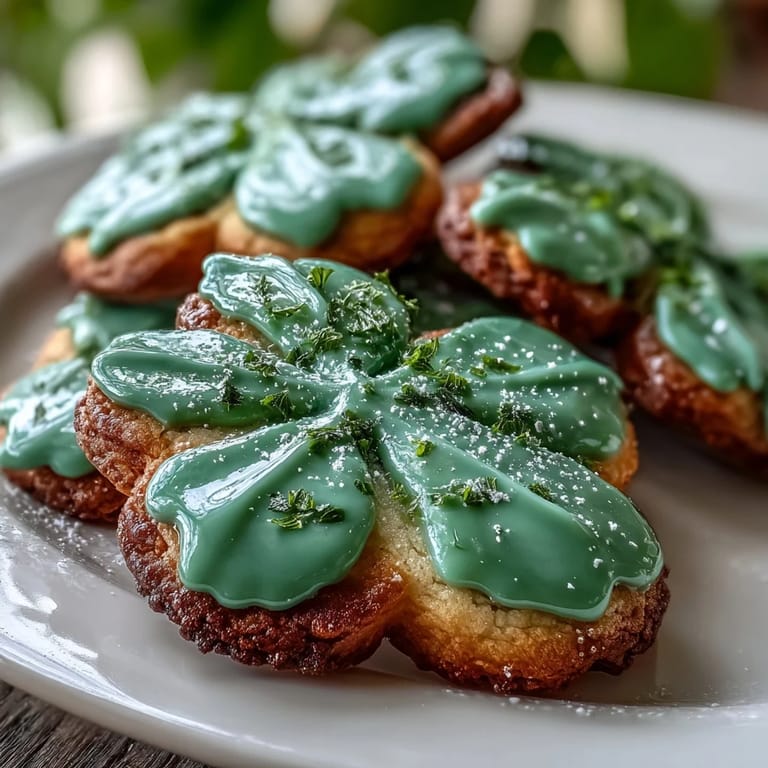
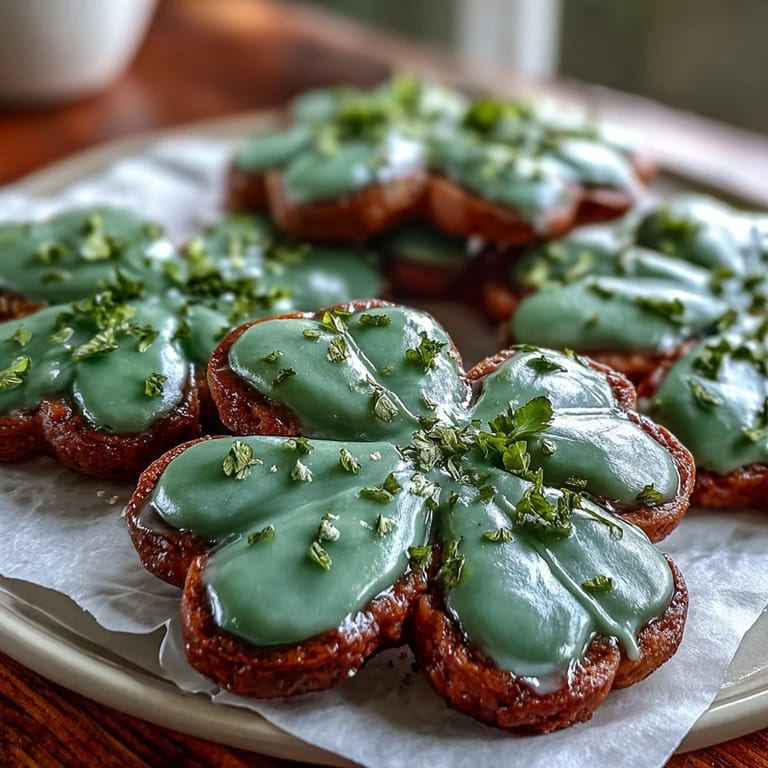
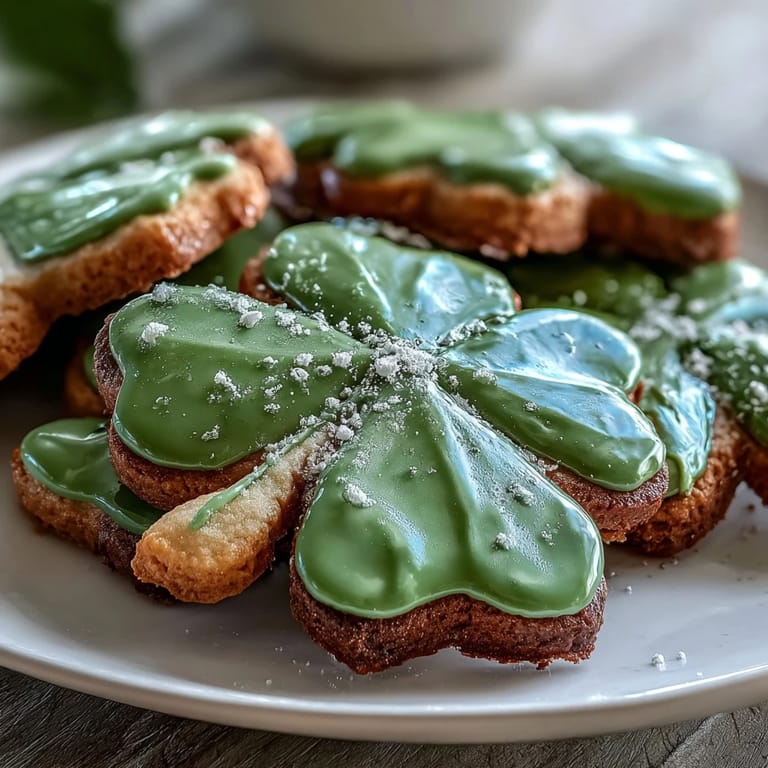
Save My kitchen smelled like butter and vanilla the morning my daughter announced she was bringing treats to her classroom's St. Patrick's Day party, and I found myself elbow-deep in cookie dough before my coffee was even finished. These shamrock sugar cookies became our tradition that year—not because they're complicated, but because watching her tiny hands decorate each leaf with green icing felt like capturing something fleeting and joyful. Now whenever March rolls around, someone asks if I'm making those cookies, and I realize they've become the edible memory of simpler moments.
I'll never forget the chaos of last-minute decorating with my sister—we had piping bags in one hand, sprinkles scattered across the counter, and somehow managed to get green icing on our faces while laughing about whether our cookies looked more like shamrocks or abstract blobs. By the time we finished, the kitchen was a delicious mess, but those imperfect, joy-filled cookies became the ones people actually remembered eating.
Ingredients
- All-purpose flour (2 1/2 cups): The foundation of tender, delicate cookies—make sure it's measured by spooning into the cup rather than scooping, which can pack it too densely.
- Unsalted butter (3/4 cup), softened: Room temperature is non-negotiable here; cold butter won't cream properly and you'll miss that fluffy texture that makes these cookies melt on your tongue.
- Granulated sugar (1 cup): This sweetness melts into the icing beautifully, so don't skip the creaming step where butter and sugar become pale and voluminous.
- Large egg: Brings structure and richness; use room temperature eggs so they incorporate smoothly without affecting the dough temperature.
- Pure vanilla extract (2 teaspoons): The flavor backbone—pure extract makes a noticeable difference compared to imitation, especially in something this buttery.
- Almond extract (1/2 teaspoon, optional): A whisper of almond that nobody will identify by name but will make them ask why these taste so special; skip it if you have nut allergies in your crowd.
- Baking powder (1/2 teaspoon): Just enough to give the cookies a tender crumb without making them cake-like.
- Salt (1/4 teaspoon): This amplifies the vanilla and butter, so don't think you can skip it.
- Powdered sugar (3 cups), sifted: Sifting removes lumps before mixing, which prevents grainy icing that won't spread smoothly.
- Egg whites or meringue powder: The magic ingredient for icing that flows like silk but dries to a hard finish; if using egg whites, make sure they're fresh.
- Green gel food coloring: Gel gives you vibrant color without thinning the icing like liquid coloring would.
Tired of Takeout? 🥡
Get 10 meals you can make faster than delivery arrives. Seriously.
One email. No spam. Unsubscribe anytime.
Instructions
- Mix your dry ingredients first:
- Whisk flour, baking powder, and salt together in a medium bowl and set it aside—this distributes the leavening evenly so you won't get pockets of bitter baking powder taste. It's the quiet step that makes all the difference.
- Cream butter and sugar until fluffy:
- Beat them together for 2-3 minutes until the mixture looks pale and creamy, like frosting—this incorporates air that keeps cookies tender. You'll know it's ready when it feels lighter and fluffier than when you started.
- Add egg and extracts:
- Beat these in one at a time so they fully incorporate; if you dump them all in at once, the mixture can look curdled until you finish mixing. The almond extract is optional but whisper-soft and lovely.
- Fold in dry ingredients gently:
- Add the flour mixture gradually while mixing on low speed, stopping as soon as no streaks of flour remain—overmixing develops gluten and makes cookies tough. When it's just combined, you're done.
- Chill the dough:
- Divide it in half, shape into disks, wrap tightly, and refrigerate for at least an hour—cold dough spreads less and gives you crisp, defined shamrocks. I've learned this the hard way after rushing this step.
- Prepare your baking space:
- Preheat your oven to 350°F and line sheets with parchment paper, which prevents the bottoms from browning too quickly. Have everything ready before you roll dough out, since it warms up fast.
- Roll and cut with care:
- On a lightly floured surface, roll dough to 1/4-inch thickness—I use spacers on my rolling pin so it's consistent. Cut shamrocks and transfer them gently to your prepared sheets; they'll keep their shape beautifully.
- Bake until edges just golden:
- Watch them from 8 minutes onward because ovens vary; you want the edges just beginning to turn golden while the centers still look barely set. They'll firm up as they cool, which is when that tender, melt-in-your-mouth texture happens.
- Cool on the sheet, then the rack:
- Let them sit on the hot baking sheet for 5 minutes to set, then transfer to a wire rack to cool completely—this stops the residual heat from cooking them further on the bottom. This is crucial for even texture.
- Make your royal icing:
- Beat powdered sugar, egg whites, and vanilla or lemon juice for about 5 minutes until stiff peaks form and it's glossy—it should look like meringue. If using meringue powder, dissolve it in water first, then proceed.
- Color your icing thoughtfully:
- Add gel food coloring a tiny drop at a time, stirring between additions, because gel is concentrated and one drop goes a long way. Stop when you reach the shade you want—even green mistakes taste delicious.
- Pipe, flood, and decorate:
- Transfer icing to piping bags with small round tips; outline each shamrock first with a thin line, then pipe the icing inward to fill (flood) the shape. Add sprinkles or edible glitter while the icing is wet so they stick.
- Let icing set completely:
- Give the cookies at least an hour before stacking or packaging—if you rush this, the icing will smudge. This is a good time to make tea and admire your work.
 Save
Save There's something magical about seeing someone bite into one of these cookies and that royal icing crack under their teeth before melting away, revealing the buttery sweetness underneath. Those moments remind me that baking isn't really about following steps perfectly—it's about creating something with your hands that brings a small joy to someone else's day.
The Secret Behind Smooth Royal Icing
The first time I made royal icing, I beat it until my arm hurt and it still looked grainy and dull. Then someone told me that the glossy finish comes from beating egg whites (or meringue powder) until they're stiff but still hold peaks—and I finally understood it wasn't about brute strength, it was about knowing when to stop. Now I listen for the change in sound the mixer makes, and that's my signal that the icing is ready.
Why Timing Matters More Than You Think
These cookies bake so quickly—honestly, the difference between perfect and slightly over-baked is about 2 minutes. I've learned to set a timer for 8 minutes, then check every 30 seconds after that rather than trusting the full 10-minute window, because the last minute of baking is where everything changes. The edges should be just barely turning golden while the centers still look ever so slightly underdone; they finish cooking on the cooling sheet.
Make-Ahead Magic and Storage Wisdom
The beauty of this recipe is that nearly every component can be prepared ahead, which means you can spread out the work and actually enjoy the process instead of panicking. Baked cookies keep in an airtight container for up to 5 days, and royal icing stays fresh at room temperature for 2 days if covered—just give it a quick stir before using it again.
- Dough can be made up to 3 days ahead and refrigerated, or frozen for a month in those disk shapes wrapped tightly.
- Royal icing stays silky smooth when covered at room temperature, no refrigeration needed.
- Baked, undecorated cookies are sturdy enough to transport or store, making them perfect for party prep days in advance.
 Save
Save Baking these shamrock cookies has become my small ritual of celebrating spring arriving, even if the weather hasn't caught up yet. There's something hopeful about making these festive treats, especially when you share them with people who light up at the sight of homemade cookies.
Recipe FAQs
- → What gives the cookies their buttery texture?
Using softened unsalted butter creamed with sugar creates a tender and flaky texture in the cookies.
- → How is the royal icing made glossy and smooth?
Beating powdered sugar with egg whites or meringue powder until stiff peaks form ensures a smooth, shiny icing perfect for decorating.
- → Can almond extract be omitted or substituted?
Yes, almond extract is optional and can be omitted for allergies or replaced with vanilla extract for a milder flavor.
- → Why should the dough be chilled before baking?
Chilling firms the dough, making it easier to roll and cut precise shapes while preventing excessive spreading during baking.
- → What is the best way to store the decorated cookies?
Allow icing to fully set, then store cookies in an airtight container at room temperature to maintain freshness for several days.
- → Are there vegan alternatives for this sweet treat?
Yes, use a flax egg instead of a chicken egg and replace royal icing with a vegan version to maintain texture and appearance.